This section describes how to use the “Transcription and AI Editing” function of Interview AI.
Newly registered and logged in
For all plans, a login is required, so first register a new account with an email address and password.
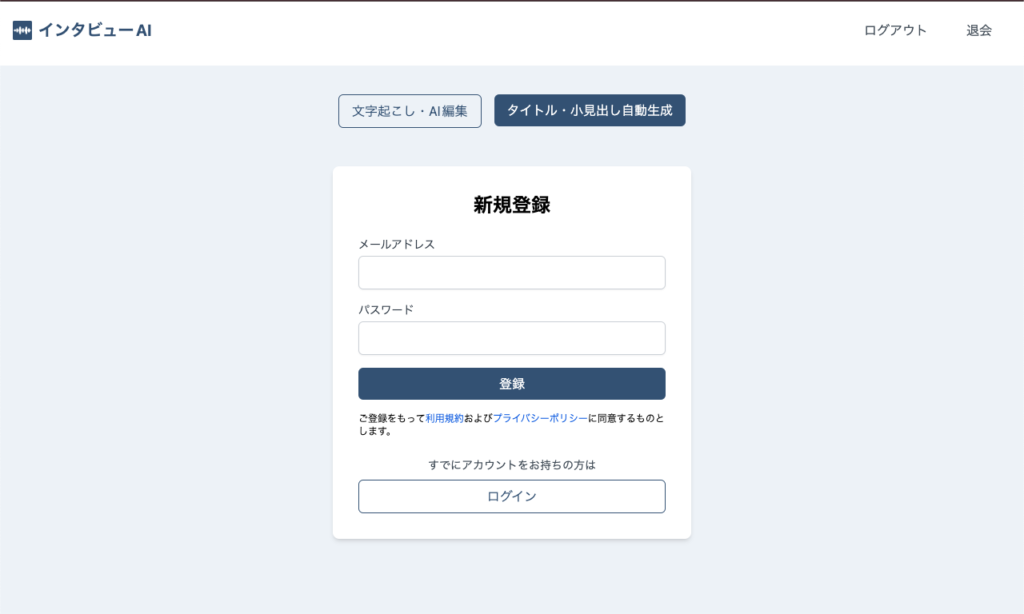
You will receive a confirmation email. Please be sure to authenticate your email before logging in. Please be sure to authenticate your email before logging in.

Upload audio file
Once logged in, you will be taken to the Transcription and AI Editing screen, click the Select File button, and upload your audio file.
Audio files can be mp3, wav, aac, flac, or ogg files, and the maximum upload size is 20 MB.
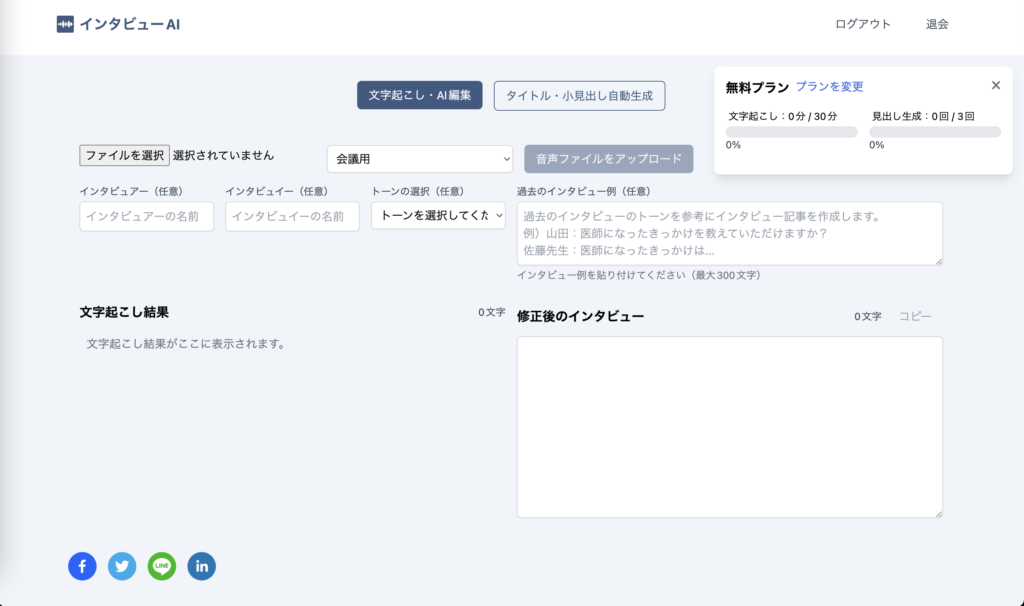
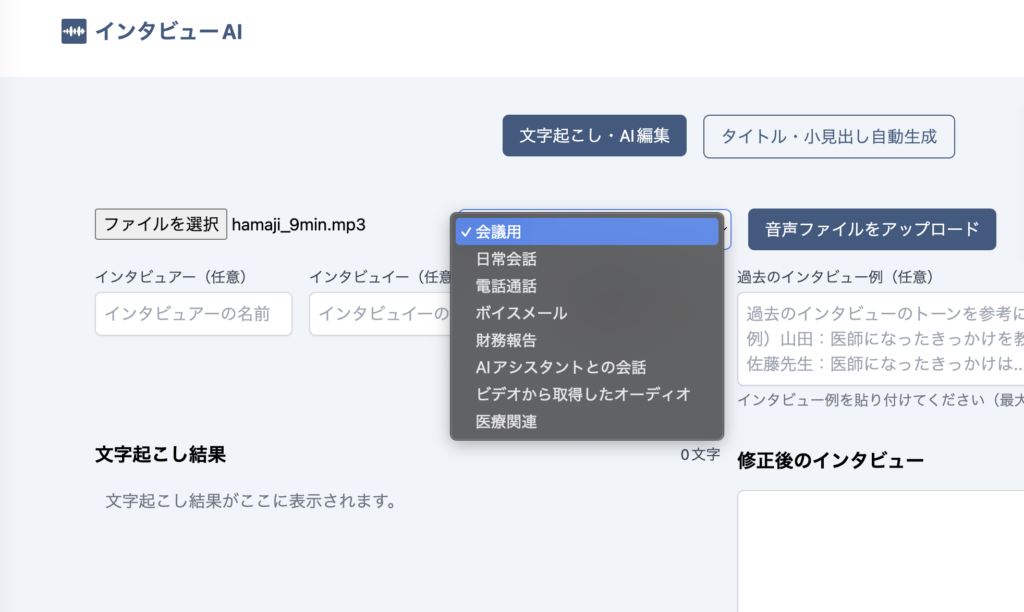
After selecting an audio file, select the audio file type from the pull-down menu.
Eight types are available for meetings, daily conversations, phone calls, voicemail, financial reports, conversations with AI assistants, audio acquired from video, and medical-related topics, so choose the most appropriate type.
Basically, please select the default “For Conference”.
Start transcribing audio files
Click the Upload Audio File button to begin transcription and AI editing.
Transcription will begin automatically after the file upload is complete.
When the transcription is finished, it will appear in the transcription results.
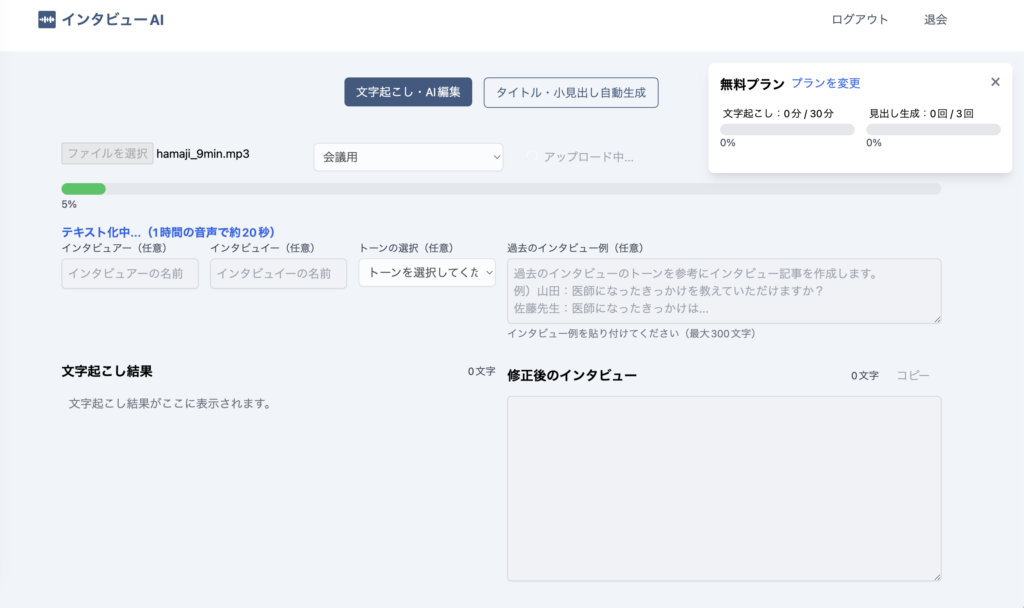
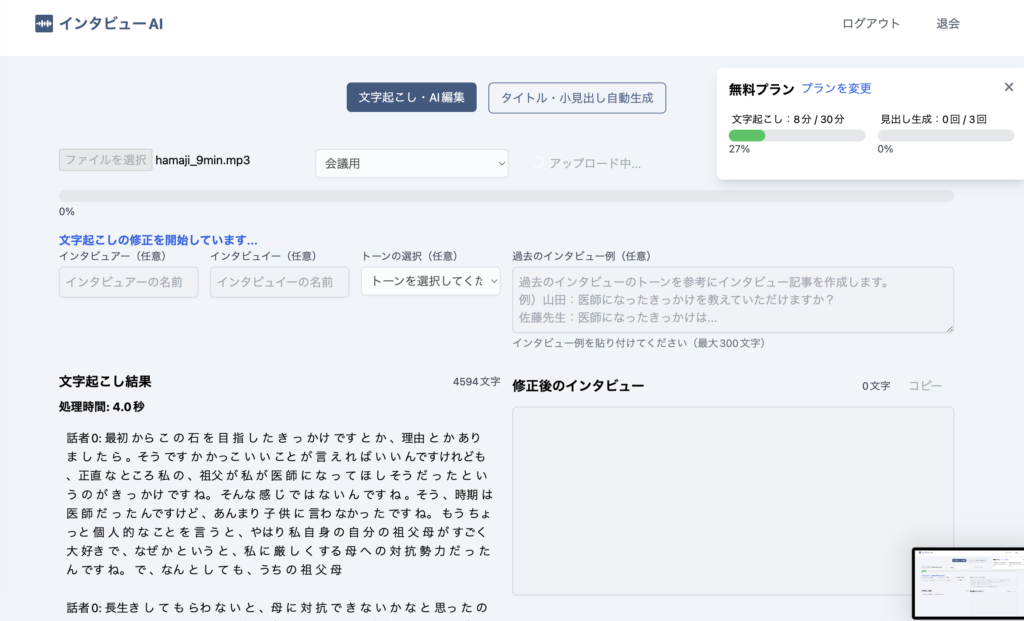
After that, AI editing of the transcription results will begin automatically.
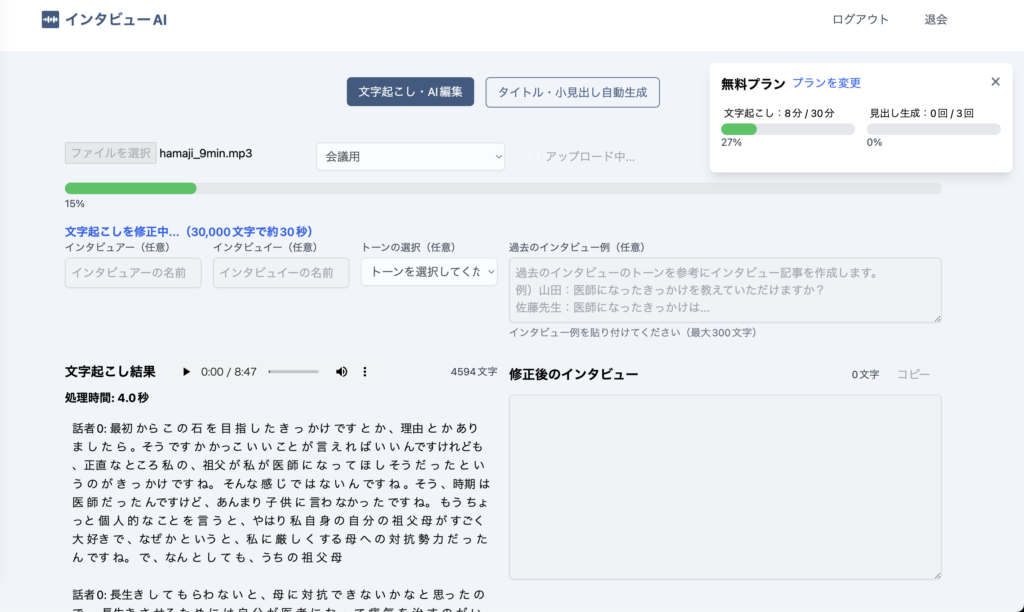
When the AI editing is complete, the resulting text will appear in the modified interview column.
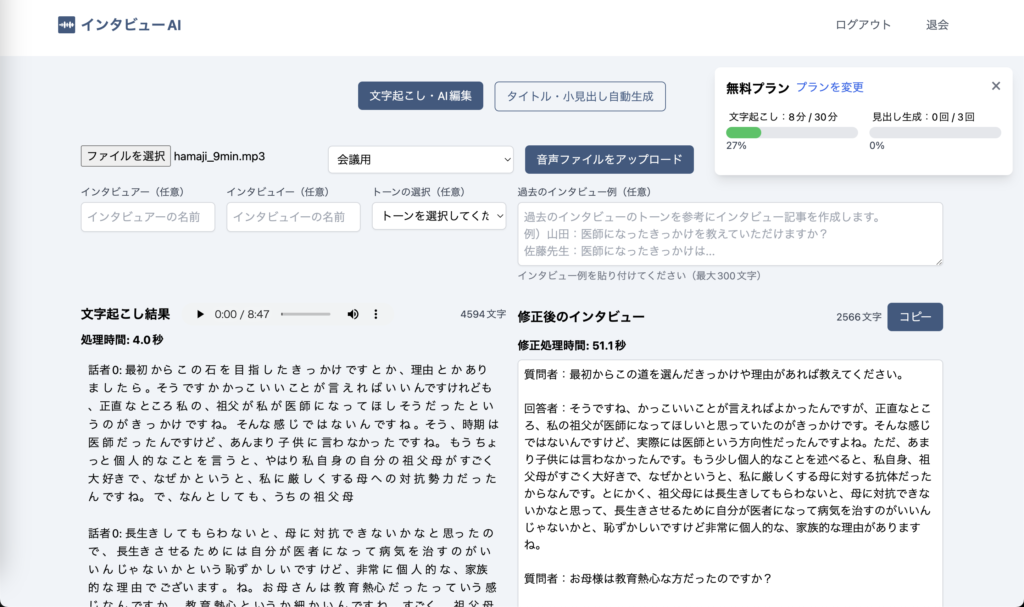
Edit and copy the revised interview
Transcription results cannot be edited, but the revised interview can be edited.
While playing back the audio that appears on the right side of the transcription results, please correct any areas that need to be corrected in the revised interview as appropriate.
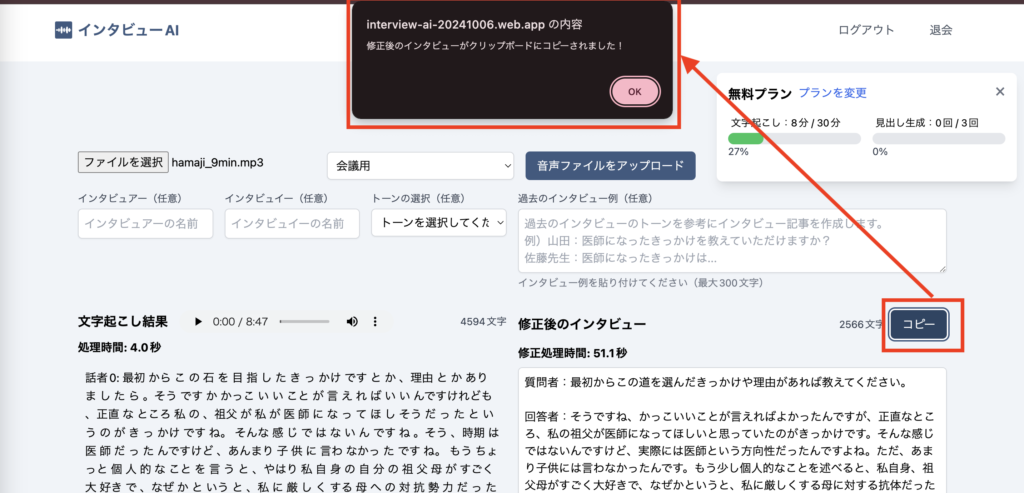
When you have finished making corrections, click the Copy button.
It will then be copied to the clipboard and you can paste it into Word, Notepad, or an article site.
How to use optional functions
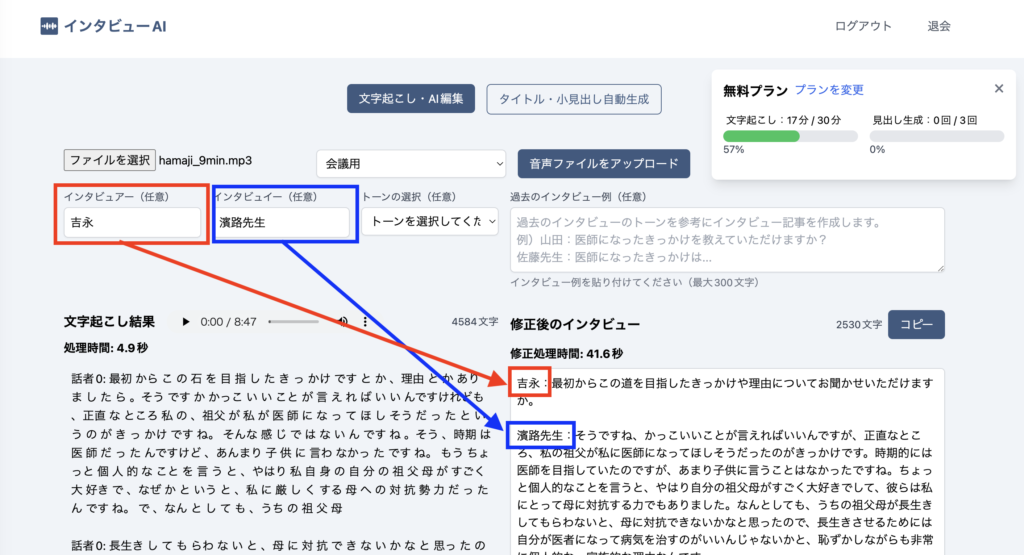
The following optional input fields are available for transcription and AI editing
- interviewer
- interviewee
- Choice of tone: formal, casual, pop, serious
- Text input area for example past interviews
The interviewer and interviewee will be reflected in the modified interview fields as they are entered.
If nothing is entered, “Questioner” and “Respondent” will be displayed.
There are four interview tone options: formal, casual, pop, and serious, so choose accordingly.

If you wish to reflect the style of the interview in more detail than the tone of the interview, paste the text of a previous interview exchange into the “Past Interview Examples” text area (maximum 300 characters).
Transcriptions are 30 minutes in the free plan, so if you would like to use more than 30 minutes, please move to the paid plan.

